 After writing about a dual flush retrofit kit, we became enthused about the idea of installing one of these ourselves. We don’t have a plumber on staff, so our intrepid editor was forced to play with his own toilet. Please excuse if our terminology falls short as we try to explain basic toilet technology.
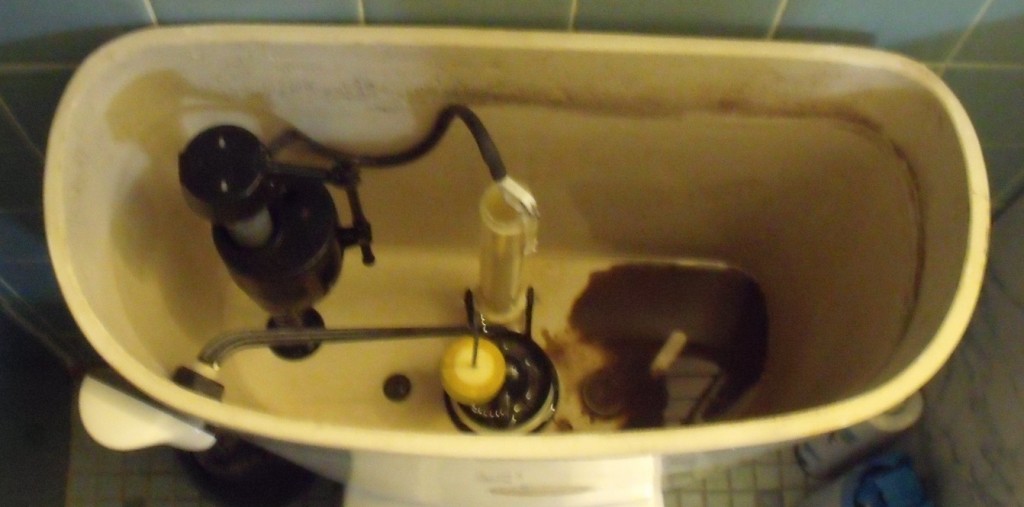
Our toilet is a 1.6 Gallon model installed around 2000. A traditional toilet uses a simple system. The ballcock floats on top of the water. when the tank is emptied, the ballcock lowers, thus activating the fill valve until the 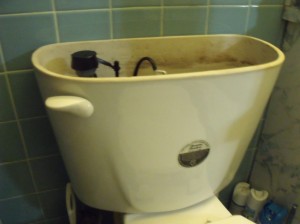 ballcock is lifted up to the off position by the water. The fill valve on this toilet was replaced with a newer, more reliable design, the concentric-float fill valve, and thus there is no ballcock. The concentric design is required for this retrofit kit.
The model is the MJSI HYR270 HydroRight Drop-In Dual Flush Converter, purchased at a local Home Depot. The nice thing about this design is that it does not require removal of the toilet tank to install. If you have to go as far as to remove the toilet tank, you might as well buy a new toilet with integrated dual flush, which we recommend if you have a really old toilet.
If you need to replace your fill valve with a concentric float one, which as mentioned is required, MJSI makes an adjustable one that can also help you save water, and sometimes it is better to get components from the same manufacturer, as you can be reasonably certain they work together.
As you can see in the image, this toilet has a typical flapper. The flapper is a rubber stopper that is connected to the handle by a chain. When you press the handle, it pulls up, allowing water to empty from tank to bowl. For this retrofit, we will be replacing the flapper with the retrofit unit.
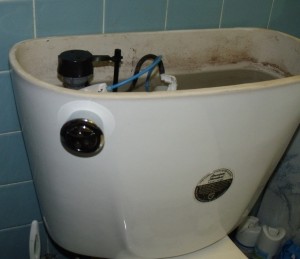
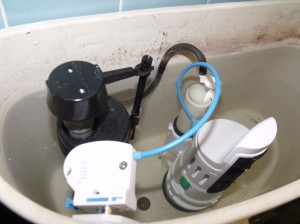 Installation was surprisingly easy. First we shut off the water and drained the tank. Then we removed the handle and the flapper and set them inside in case the mechanism did not work. The retrofit mechanism slips in place of the flapper and is a tall unit, so you need sufficient clearance. It is then secured with a zip tie in the back to the overflow tube. The overflow tube is next to the drain(where the flapper is normally inserted), and serves the purpose of preventing the tank from overflowing.
A button is then inserted into the hole where the handle once was, and attached to the control box, which is connected to the retrofit unit by a blue cable(as pictured)
Then, after following some calibration tests, your toilet is ready to be more water efficient. Fun, huh? The actual installation only took about twenty minutes, and we’re sure it would be faster the second time. We’ve given some time to test and the toilet is running without problem. The button mechanism has a low flush for liquid waste and a high flush for solid waste.
The only problem is making sure guest know how to properly use the new mechanism, but that is fairly easy to explain. So, for less than thirty dollars, we’ve committed to water savings, efficiency…and it makes for an interesting conversation piece.
Any questions?
[asa]B002NKRR7Y[/asa]
Related articles by Zemanta
- Converting Your Toilet to Dual Flush (ecotech.gadgetwisdom.com)


