Know When To Fold ‘Em? My Quest For A Modern Folding Keyboard

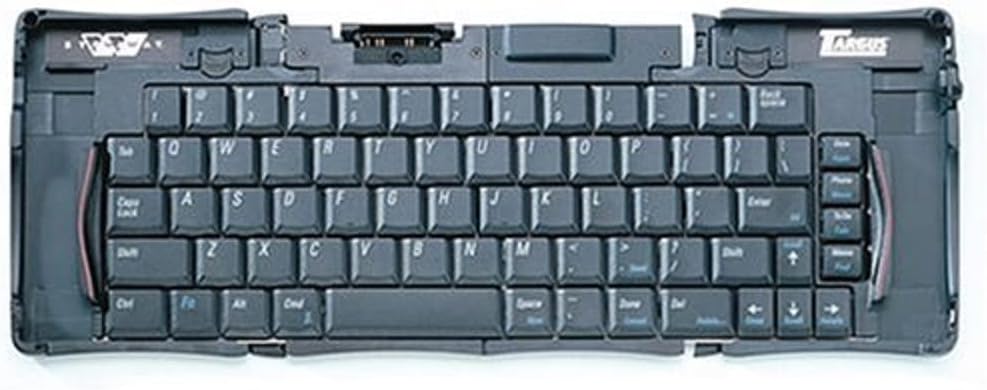
The first time I saw a keyboard and knew I needed to get it was when I saw someone with the Targus Stowaway keyboard. It was connected up to their PDA. I immediately wanted a PDA and the keyboard to use to type on the go. For those of you who missed the PDA phase, it was the smartphone before smartphones. I still have fond memories of my Handspring Visor.

The Stowaway Keyboard was a tri-fold keyboard that folded into a pocket size item, and contained a mount to put your PDA into to connect to it. The modern equivalent is bluetooth or USB, and connects to your phone. So, I looked on Amazon to see if I could find what the successor to that is.


You still can get TriFolds like that…for example, the Moko Foldable Bluetooth Keyboard. It even has a full number pad.

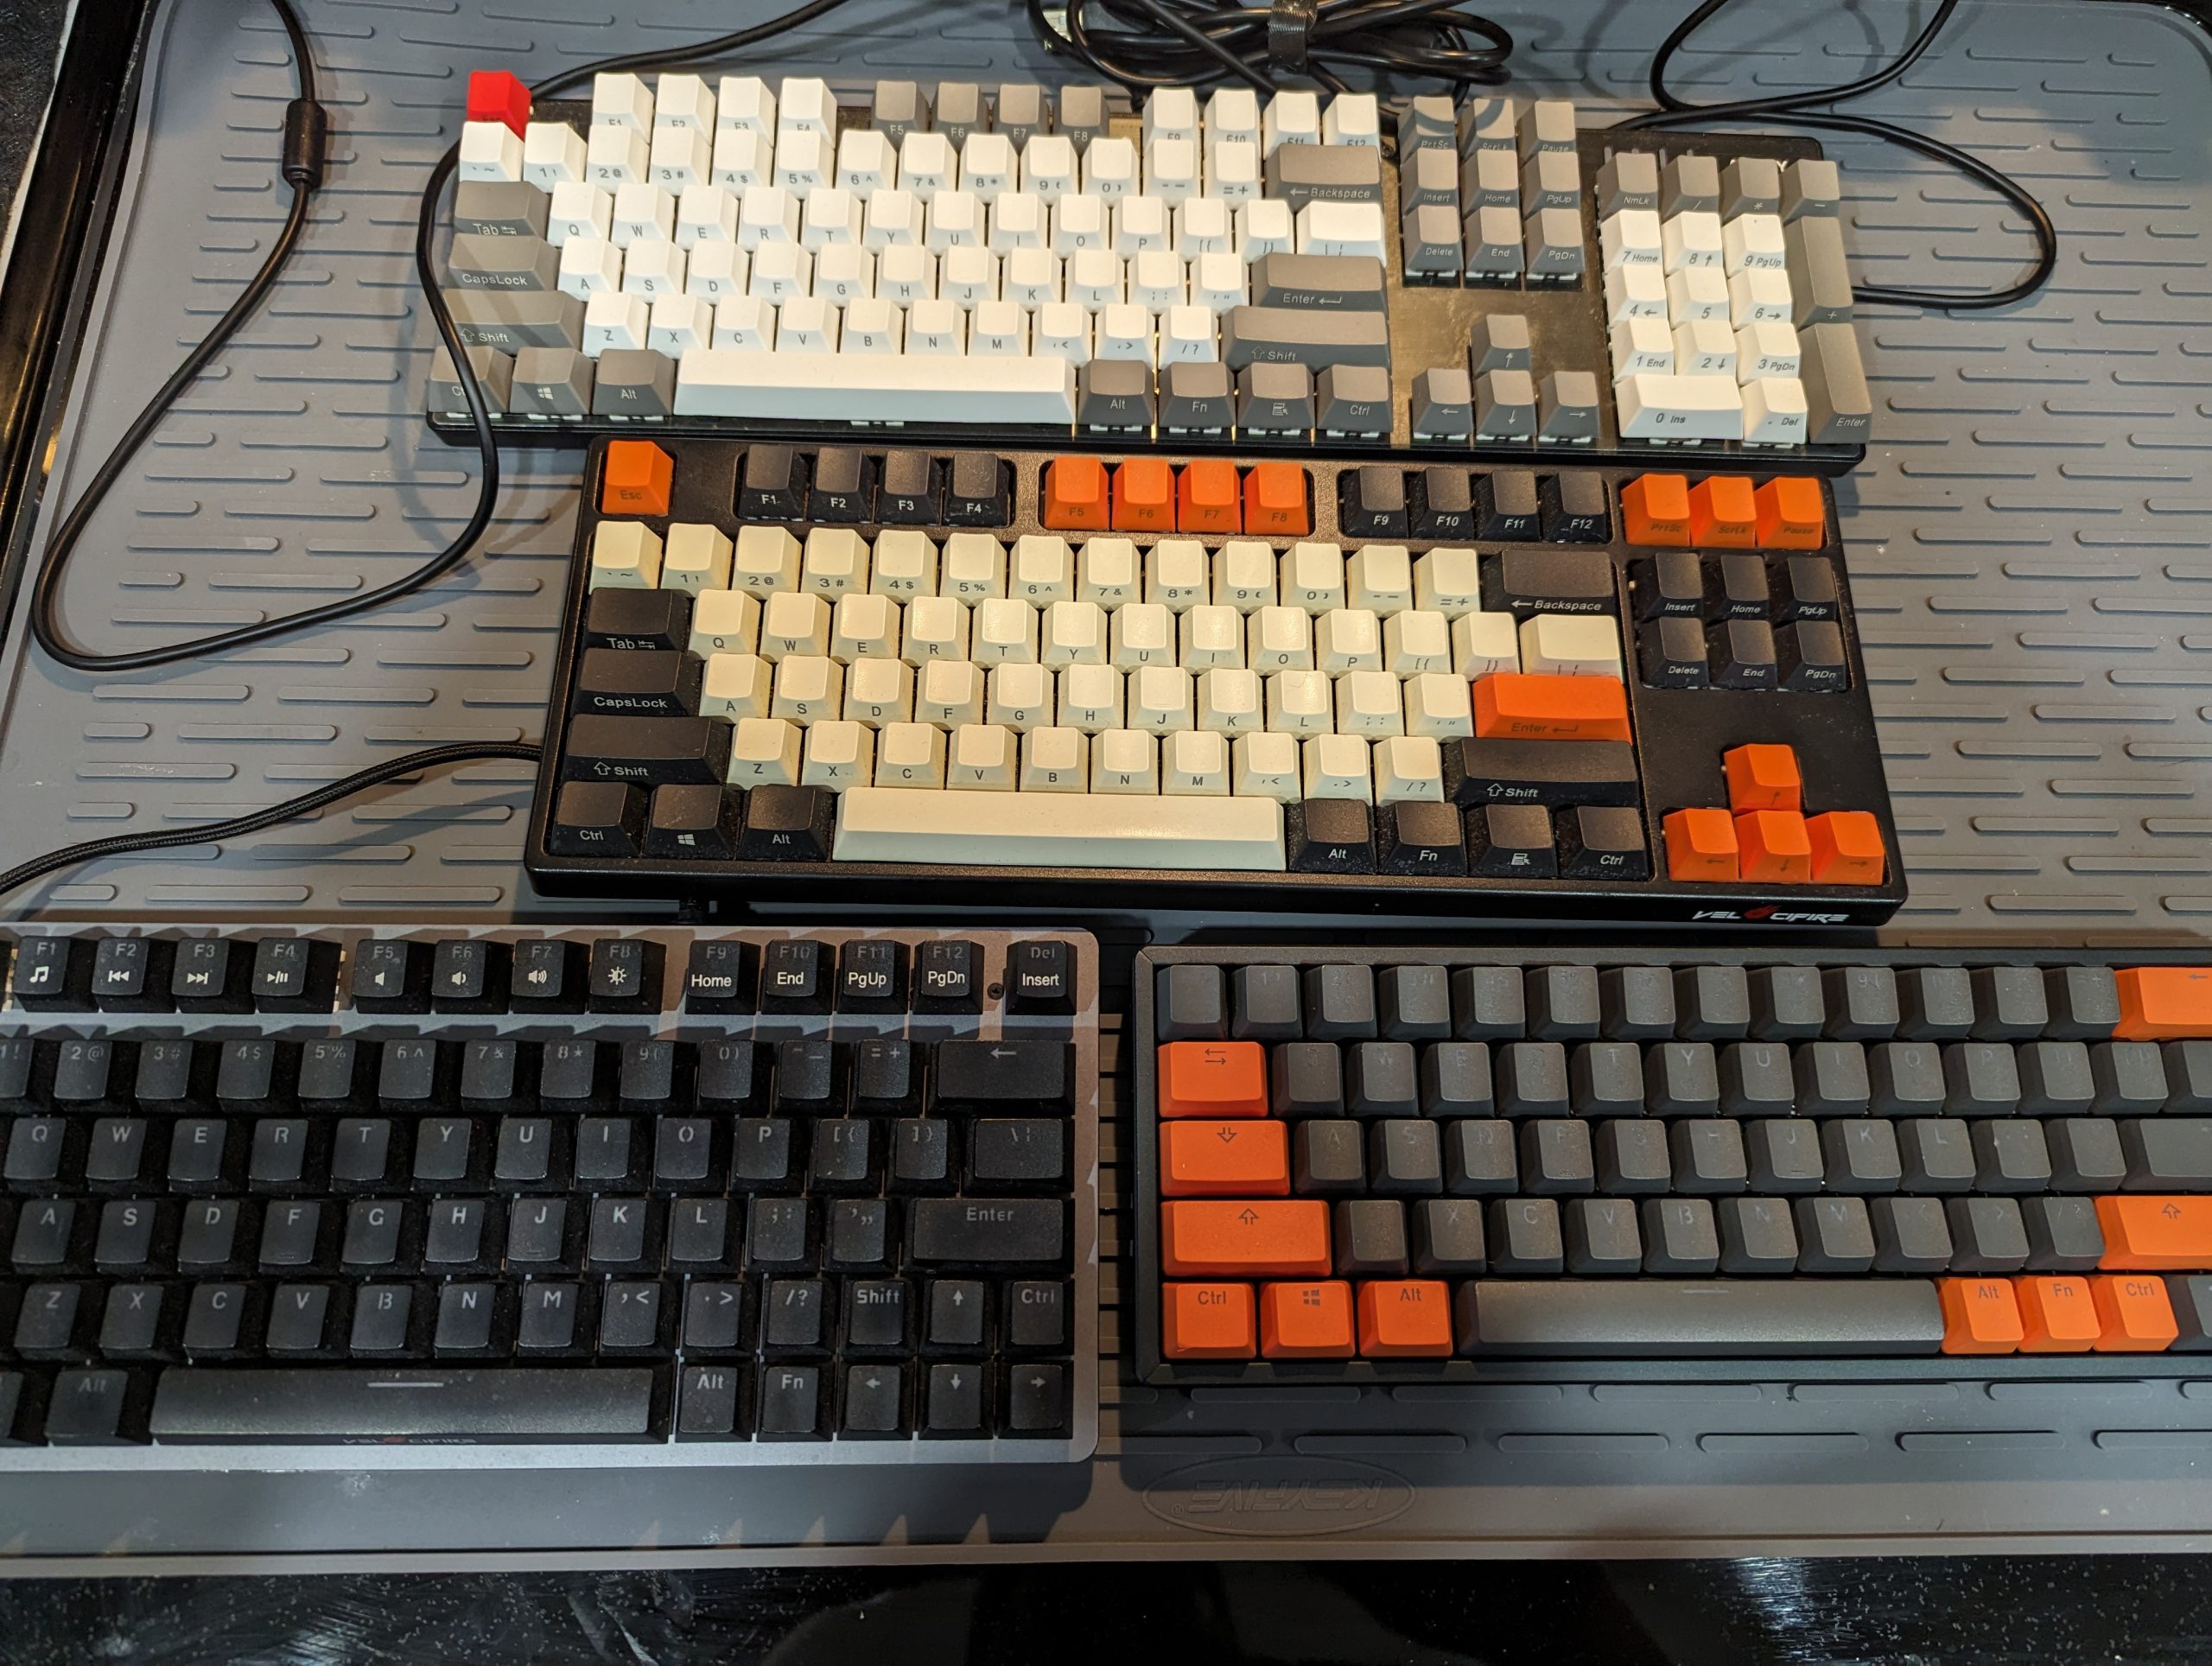
There are also bifold bluetooth keyboards of varying prices and quality. But, I’ve been on a mechanical keyboard exploration of late, so I wondered what was available in folding or otherwise tiny form factors that was mechanical.

I tried out the Royal Kludge F68 60% folding low profile keyboard. Royal Kludge is a fairly well established lower cost brand, and this was a unique design. I used it to write on a tablet, and it had no issue being plugged in via USB or paired via bluetooth. I was able to type an entire email comfortably with my phone. The only issue was the keycaps started showing discoloration immediately, so I decided to swap the keycaps for something of better quality. The keycaps are low profile, so I found a nice inexpensive set, and it worked perfectly…except for the spacebar. It’s 6U, as opposed to the more common 6.25U…so…problem. But the rest of it is now much better.

But that is a problem in itself. If a keyboard doesn’t start out close to what you what, is it worth putting money in to make it that? I’ve been delving into keyboard videos on YouTube and keyboard forums. I have been buying keyboards only to immediately switch to PBT keycaps. I’ve been experimenting with new switch types…and for the most part, you can only get a limited selection preinstalled on the board and there are so many other options.

We’ll see what I try next, but what is your preference for mobile keyboards? I’ve covered folding as well as the smaller form factors…


Hey You, Get Onto My Cloud: More Nails in the Coffin of Physical Media For Video?

In a previous post, I was commenting on the enthusiasts who continue to embrace physical media.

So, it spurred me to write when the man I bought my blu-ray drives from sent an email that he is shuttering his business selling Libredrive enabled hardware. Libredrive is a mode of operation that allows accessing the data on the disk directly, as opposed to the more ‘modern’ method of the firmware on the device restricting access. The drives I bought from him are being discontinued. There are other sellers, but it is proof that it is getting harder for those who want to own their own media and keep digital copies of their media to do so. The life expectancy of a DVD is anywhere from 30 to 100 years, estimated, assuming it was stored in a cool dry place, out of direct sunlight. Also, sleeves as opposed to cases can scratch them. Failures of well maintained discs in less time is rare.

When I shared this thought with someone, they commented it was because physical media is dead. But there will always be a market for dedicated hobbyists and enthusiasts. The Verge reported that for the second year in a row, vinyl outsold CDs, $1.4 billion versus $537 million. Physical media is still 11% of sales. But, while CDs and Vinyl are still 11% of the audio market, on the video side, in 2023, in the US, 86.3% of video watching was subscription streaming, 6% digital ‘sales’, 3.9% digital rentals, and 3.6% digital sales. Eventually, physical video media will likely see a resurgence…resurgence likely being where vinyl and CDs are today. A dedicated hobbyist market.

When the subscription services started, they started putting out classic as well as harder to find shows. But now, they are pulling things, not just older content, but new exclusive content they created for those platforms. Ad supported tiers are rising up, as are the monthly rates. They are cracking down on how many people can use the service. Why? Because these services are not making money. Netflix still is, Warner Discovery just started, but the rest are still in the red. But all of the services are cutting new production budgets and beloved shows to keep up. There may be a point in the future where your favorite classics aren’t available anymore on any subscription service.

Time to go raid the Walmart DVD bin before that’s gone too.

Best Tools For Productive Work On The Road: Spring 2024 Edition

Many of us are travelling more than we used to, but there is no reason we can’t have a great work setup while on the road.

This post serves as a packing list, among other things, for my travel gear. These allow me to be productive from anywhere. It’s a good opportunity to go over what I keep in my bag, and over time, talk more specifically about the items I keep in there and why.

  • A Walmart Onn Android 4K TV puck – Powered by micro-USB, used for streaming in hotel rooms
  • 2 Ainope Right Angle USB-C to USB-C 6 foot cables, braided 60W rating – any USB-C cables might do.
  • 2 Baseus 100W retractable USC-C PD 5A 3.3 foot cable
  • EMEET USB Speakerphone for Live Streaming – Got this on sale, but you can’t get it anymore. Good because it is compact, and a webcam and speakerphone in one. I’m fine in the shortterm, but will look for alternatives to suggest.
  • Charger for a Pinetime Watch – More on the Pinetime in future
  • An Ikea LED USB lamp . – Some hotels do not have a desk light and this takes up almost no space.
  • Generic USB/battery operated LED clock – I use my phone for alarms, but I honestly can’t be bothered to fiddle for it when I’m trying to sleep in a hotel room while experiencing jetlag. This was just the smallest clock with digits I could see without my glasses. About the size of a harmonica. There are dozens of these.
  • 200W GAN USB C Charger Block, 4 USB-C PD ports, 4 USB-A ports – Can power everything with plenty of ports. I have one of these on my desk as well.
  • The 65% K6 Keyboard…I wrote about my Keyboard search previously.
  • Graffiti Fat Wrist Rest for small keyboards – Wrist rest for the keyboard
  • Dierya Kemove X Keyboard Travel Case – To protect my keyboard while traveling.
  • A GL.iNet travel router, right now I have the Slate Plus which was on sale, but there is a budget version available now, the Opal. There are advantages to the Slate Plus over the Opal…but for hotel trips, you can forego them. Having a travel router has a variety of advantages.
  • A portable monitor – I have a few of these of various sizes and capabilities. A 15.6, and a 12. I can mix and match depending on the computer I’m bringing…laptop, mini PC, etc, to form a variety of different configurations. More on that in future. But, this either requires HDMI cabling, sometimes mini-HDMI, sometimes full-HDMI, plus USB power, or USB-C connections.
  • Folding Laptop Stand – They don’t make the one I have anymore, but there are a lot of these. This unfolds, lifting the laptop up so I can place my keyboard below it. This assumes I bring a laptop, and not a mini-PC
  • Trackball – I prefer a trackball to a mouse. My two favorites are:
    • Logi M580 – this is a thumb controlled trackball that fits easily into a bag
    • Kensington Expert Wireless Trackball – Also comes in a wired. This thing looks big because of the provided wrist rest, but is not that much bigger than the Logi M580, which I’ve taken on many trips.


Review: Vivo Livestream Device Shelf Mount

I’ve been working on upgrades to my desk, and tried out the Vivo 16 Inch Above/Behind VESA Monitor Livestream Device Shelf Mount.

The image is a stock image from the manufacturer, not my setup, but this replaced so many things for me. It attaches to a monitor mount in between the bracket and the monitor. Not only is it good as a shelf, but I’m able to attach accessories to it.

I’ve bought two of these, one for each of my monitors. There is a webcam attached with an adjustable ball head, an old tablet that shows an information display, and a light to better light the webcam. As the bezel of monitors becomes thinner, attaching a webcam to the monitor itself is starting to actually hide some of the screen. You can mount a webcam or even a professional camera dead center and still have plenty of room on the shelf to add more small items.

The height you can adjust it to does depend on your monitor. I had to put them at different heights on different monitors due to where the ports were in relation to the mount. You may also have issues if the back of your monitor is curved. Reading reviews on Amazon, some people solved these issues by cutting off some of the bracket to make it shorter. Others had to get longer screws than the ones provided or get standoffs, both of which are fairly common needs for VESA monitor mounts.

Other people used it to hold speakers, as a shelf for their remotes, microphones, etc.

There are competing products, but none of them at a $20 price point.

  • Ulanzi makes a similar top shelf for $43 at time of publish, which includes 3 ballheads…but you can get better ball heads yourself if you need them.
  • HumanCentric offers theirs for $56 at time of publish. They have 3 sizes, a small, medium and extra large, the extra large being the $56 one and roughly the same shelf space as the Vivo. It seems to offer no specific advantage, except it is slightly shorter in length(so maybe you don’t need to cut it if it covers your ports), but hardly worth the price increase for that.


In all the mounting gear I’ve purchased for my desk, the price does seem high for what is essentially a piece of metal with some holes in it. But convenience is worth something. I have a second desk I use elsewhere where I will be using this to replace a cheap boom arm that holds up my webcam.

Musings On The Best Keyboard For Travel

In my previous writing, about using a Mini PC on the Go, I mentioned a 60-65% keyboard as the right size in my opinion for travel. So, what are the different types of keyboards?

  • Full-size
  • Tenkeyless(TKL) – A tenkeyless is the same size as a full-size keyboard, but omits the number pad.
  • 75%  – condenses the function keys
  • 65% – usually retains the arrow keys while condensing the other function keys.
  • 60% – removes the function and navigation keys
  • 40% – the smallest keyboard

I have long since given up on full sized keyboards. All my home keyboards are TKL. This is something of a practical issue. I’m left-handed, and the number pad is on the right side of the keyboard, favoring right handed typists. In the rare cases when you need it, you can try for a keypad such as this inexpensive one from Kisnt, which has Red, Brown, and Blue switch options and PBT keycaps already.

40% is too small. I know people are very passionate about this size once you get used to the combinations to use it. The most economical 40% I found was at the local Microcenter.

For my latest attempt, I opted for a 65% Keychron K6 that was discounted at the time I purchased it and is still reasonable. The K6 is bluetooth and USB-C, but has a hardware rather than a software switch between wireless and wired. Some models of the K6 are hotswappable, meaning you can change the switches.. Compare that to the well reviewed Royal Kludge RK68, which has a software switch. 65% gets you the arrow keys, which I do enjoy having as dedicated functions.

I previously used a 60%, and tried several variations, but missed those arrow keys. However, if I opt to try a 60% again, I might try the Royal Kludge RK61, which is not only hot-swappable, but has QMK/VIA support…which allows you to remap the keys to a configuration of your liking. Since I’m on a Keychron kick of late, they have the K12. The Pro Version has the QMK/VIA support.

By the time you get to 75%, you might as well carry around your tenkeyless on a trip, thus making the 65% percent the perfect compromise between the two.


Home Media Servers and Owning Your Library

The Verge recently published an article on physical media, and they were not alone. It seems as if there are two camps. Those who have given up on physical media because streaming is so prevalent, and those who have embraced it. What is the difference?

Streaming is great, in that you get a large library of content for a set price. But, with streaming services raising prices, adding ads, removing content to save money…it isn’t a guarantee, especially if you have certain content you want to keep. Even if you ‘buy’ videos on a service, buying is a license that the service can revoke at any time and owe you nothing, as the people who had content in anime service Funimation discovered.

So, I have been, like the author of the Verge article, accumulating physical media, mostly waiting for sales and other opportunities. For one, I get extras like deleted scenes, director’s commentary, and such. But, I consider the DVDs and Blu-Rays to be the archival copies. I rip a digital copy of the media onto my home media server, and that is the production copy. This is some work, and I do tend to do it over time. But I am building a collection of classics I would rewatch in the future.

There is a lot of infrastructure that goes into a home media server. There is the software and the hardware. The hardware is the largest investment. You need something with some power, if you want to be able to transcode files, and with a lot of redundant storage space. Redundant as in more than one drive to ensure your data is protected in protection. Backing up media files is another cost. Fortunately, the collection won’t change that often, so even an external drive that isn’t hooked up to the same system can be an option there.

That just covers storage. Then there is playback to consider as well. What devices you want to play on, etc. Transcoding, as mentioned, can also allow you to generate smaller alternate versions of files for watching on different devices, if needed.

More on those things in future, but if you have favorites you want to be able to watch more than once…if you want to curate a collection, then you may wish to have your own server.

Thoughts On Using a Mini PC On the Go

Recently, I was reading an article by Brady Snyder of XDA Developers about using a Mini PC on the go. It happened to match up with something I’d been thinking about. However, Brady’s premise involved the use of a battery pack. So…turning a Mini PC into a fully portable computer, instead of my goal…a computer I could set up anywhere. I’m thinking about this a lot right now because I just spent two weeks in a hotel for work, where I’d want more than I’d take on a short trip.

Dual portable monitors are coming down in price, but so are portable USB-C/HDMI single monitors that have good quality, and fit in a bag. I calculated that a USB-C to barrel connector could power everything off a USB-C PD charger. A 60-65% keyboard, portable mouse, and even a second monitor if needed can complete something that fits in a bag.

I stopped using laptops at home ages ago…because staring down at one started to hurt my neck. I could dock my laptop, but I found I rarely used the screen and mostly had it in the dock, so why not save money on the screen and get a better processor?

Over the years, I’ve tried many combinations of mobile setups. Different small keyboards. Different portable monitors. Etc. I’ve already decided on my next experiment, and will be putting out some notes about how different configurations work out. This includes:

  • Improved 60 or 65% keyboard options
  • Different portable monitors
  • Keeping the wiring simple.
  • Converting mini-PCs to USB-C PD using adapters
  • Travel micetrackballs
  • Storage devices

Curious what others thinl.

Seal Your Garage Envelope With The Green Hinge System

Last week, as part of my garage door overhaul, I installed two upgrades to my garage door itself…as opposed to the upgrade to the control system(the ratgdo board). When picking out new products, I do my research.

One was the Green Hinge System. You can find the Green Hinge direct on their website, or through Amazon(click here) if you prefer. Garage door mechanics aren’t my area of expertise, but the Green Hinge system is a spring loaded hinge for garage doors. The tension of the hinge pushes the door flush to the frame. This reduces the entry of cold air, wind, dust, bugs and other critters from entering. It also makes it harder for someone to try to grab the garage door release through the gaps in the door. The Green Hinge was created by a small business owner whose garage stored items were freezing in the cold Wisconsin winter.

The installation target was an original garage door installed with the building in 1976, so the door is nearly 50 years old, and still had the original hinges. The rollers had been replaced twenty years ago or so, so replaced them with nylon rollers rated for 100,000 cycles at the same time. In order to get it to work properly we had to strip two layers of weatherstripping that not only had been on for years, but had been painted over to the point I didn’t even realize it was there(need to touch up the paint unfortunately at some point though).  The hinges don’t rattle quite as much as the 50 year old ones, although if I wanted the door to be even more silent, between that and the new rollers, I’d need to replace the garage door opener motor, track, and/or chain as well(maybe next year).

The new hinges did create another problem. Due to the slight shift in door alignment, the gap at the bottom of the door was not perfect. This was partially due to some cracked concrete I need to patch making it not level, but partially because we discovered the seal was actually nailed on on top of another, also nailed on seal. The new bottom seal uses a track, so the seal can be replaced in the track if it wears out with a new one without nailing it into the frame.

After all that, I took temperature readings. I have a sensor connected to my Home Assistant instance that sits right next to the garage door. Looking at the sensor overlaid on the outdoor temperature sensor, the temperature in the garage was higher on average during a snowstorm today than last month’s cold snap. There were no drafts. So, all in all, this was a success.

As one side note, the handyman who I hired to help install them did run into trouble due to the old weatherstripping, called the support line, and received instant support from someone with hands on installation experience. He asked for pictures and provided the key information that revealed the source of the problem, even though the handyman was skeptical. I can’t say there isn’t more cosmetic work to do when the weather gets warmer, painting, patching the concrete to level the bottom, etc. But it made an old door operate like a much younger one.

Take Control Of Your Garage Door With Rage Against the Garage Door Opener

https://user-images.githubusercontent.com/4663918/288449523-9ddf3da2-9eac-4be0-beed-11867dc8d446.png

Rage Against The Garage Door Opener(RATGDO), is a board created by Paul Wieland that gives you local control of a Chamberlain/Liftmaster garage door. It also supports other garage doors with some additional equipment. The ratgdo board is an ESP chip, and inserts itself in between the circuit board in the motor and the safety sensors and the button/control panel on the wall. It then learns to communicate with the components. I ordered this device, which is now frequently back ordered, last year, and finally got to installing it this weekend.

I haven’t spoken to the developer directly, but how did this board, which is a sudden boom side business for him, become so? It starts with Chamberlain announcing they would be blocking access to their API for home automators.

The board offers:

  • Open/Close Functionality
  • real time status of door
  • the ability to partially open or close the door
  • Obstruction sensor status
  • Motion Sensor status

If you can wait for an item on backorder, I recommend this device if you have the right sort of garage door to ensure peace of mind in regard to the status of your door.


Should I Install Solar Panels on a Rental Property?

As the world increasingly embraces renewable energy sources, solar panels have become a popular option for homeowners looking to reduce their carbon footprint and energy bills. However, if you own a rental property, you might be wondering whether installing solar panels is a financially sound decision. In this blog post, we’ll explore the pros and cons of installing solar panels on a rental property, helping you make an informed choice.

Pros of Installing Solar Panels on a Rental Property

1. Attract Eco-Conscious Tenants

In today’s environmentally conscious world, many renters actively seek out eco-friendly living options. Installing solar panels can make your rental property more appealing to this demographic, potentially allowing you to charge higher rent and keep your property occupied.

2. Reduced Energy Costs

Solar panels can significantly reduce electricity bills for both you and your tenants. Lower energy costs can make your rental property more attractive and competitive in the market, potentially leading to longer tenant retention.

3. Tax Benefits and Incentives

Many governments offer tax credits and incentives to property owners who invest in solar energy systems. These financial perks can offset the initial installation costs and provide a faster return on investment.

Cons of Installing Solar Panels on a Rental Property

1. High Initial Costs

Solar panel installation can be expensive, and the upfront investment might not align with your budget. You’ll need to weigh the long-term savings against the initial expense to determine if it’s financially feasible.

2. Responsibility for Maintenance

As the property owner, you would typically be responsible for the solar panels’ maintenance and any repairs. This added responsibility can be a burden, especially if you have multiple rental properties.

3. Tenant Turnover

If your tenants move frequently, you may not fully reap the benefits of solar panels. The savings from reduced energy bills may not compensate for the costs and hassle of installing and maintaining the system.


Whether or not to install solar panels on a rental property depends on your specific circumstances, budget, and long-term goals. While they can attract eco-conscious tenants and reduce energy costs, the high initial investment and maintenance responsibilities may not be suitable for everyone. Before making a decision, consult with a solar energy expert, conduct a thorough cost-benefit analysis, and consider the local incentives available in your area. Ultimately, the choice should align with your financial objectives and commitment to sustainable living.